Connect a Document to a Data Source
This tutorial describes the steps required to connect a Snap document to data by using the Data Source Wizard and Query Builder.
-
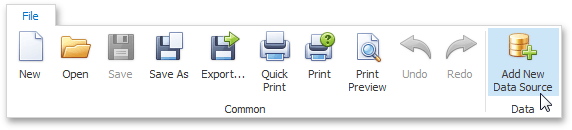
Click Data | Add New Data Source on the Snap application's ribbon toolbar.
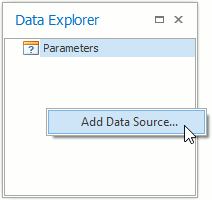
Alternatively, right-click anywhere in the Data Explorer and click Add Data Source in the invoked menu.
-
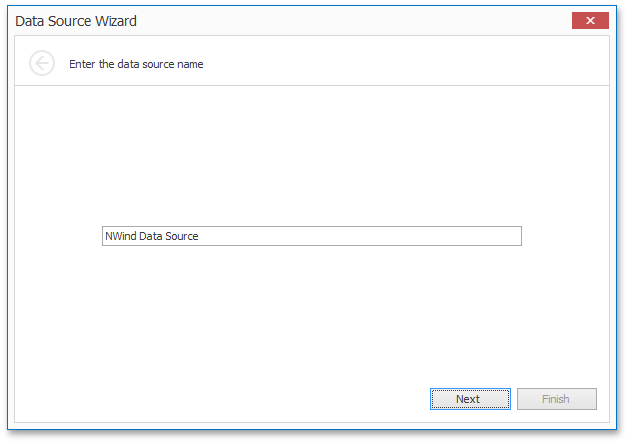
On the first page of the invoked Data Source wizard, specify a name for the new data source and click Next.
-
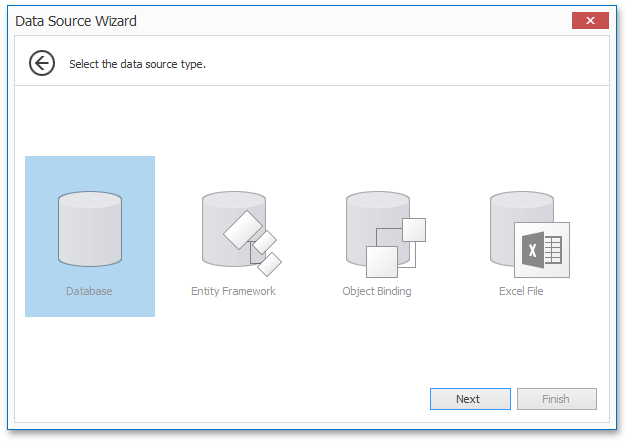
On the next page, select a data source type (Database) and click Next.
-
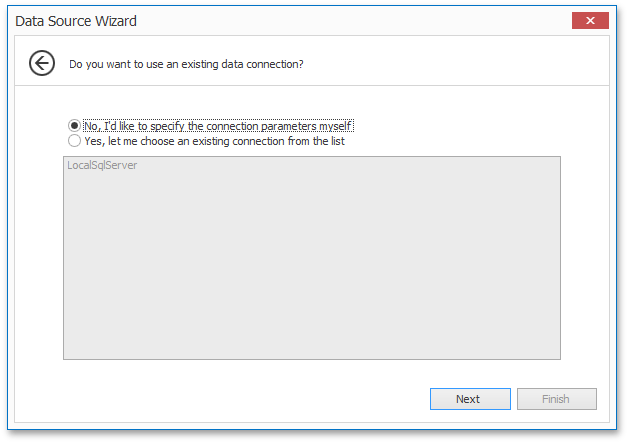
If a data connection has already been specified in the application, the next wizard page allows you to select whether to use one of the existing connections, or create a new one.
-
On the next page, select a data provider, specify the required connection settings and click Next.

On this page, you can define a custom connection string, or select from the following supported data source types.
- Microsoft SQL Server
- Microsoft Access 97
- Microsoft Access 2007
- Microsoft SQL Server CE
- Oracle
- Amazon Redshift
- Google BigQuery
- Teradata
- Firebird
- IBM DB2
- Firebird
- IBM DB2
- MySQL
- Pervasive PSQL
- PostgreSQL
- SAP Sybase Advantage
- SAP Sybase ASE
- SQLite
- VistaDB
- VistaDB5
- XML File
Depending on the selected data provider, it may be necessary to specify additional connection options (such as authentication type and database name) on this page.
To proceed to the next wizard page, click Next.
-
On the next page you are prompted to save the connection string including or excluding the user name and a password. Choose any option and click Next.
-
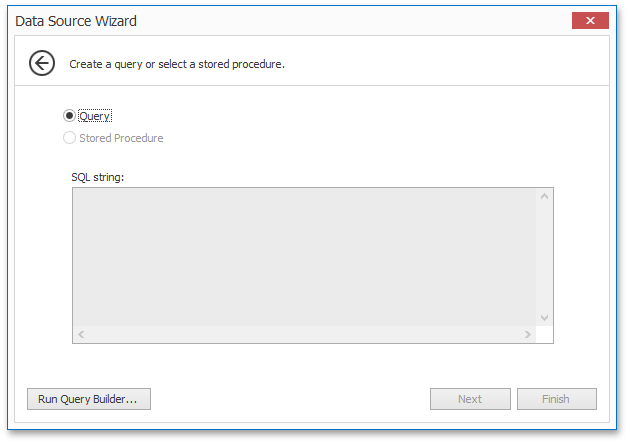
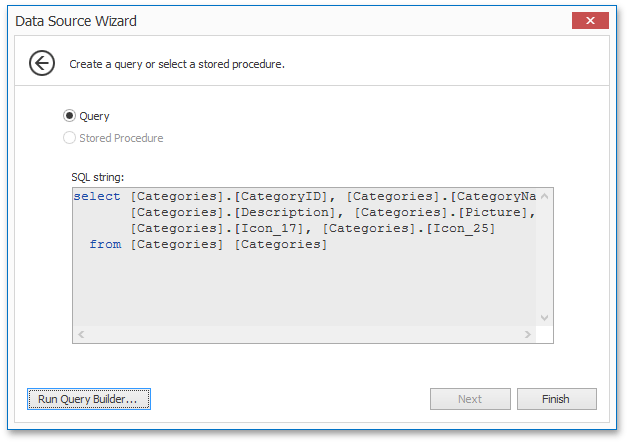
This page allows you to select a query or a stored procedure.
?lick Run Query Builder... to invoke the Query Builder window.
-
In the invoked Query Builder window, double-click the Categories item in the list of available tables on the left to add it to the tables included into the query.
Enable the check box for the Categories table, to include all of its fields in the view.
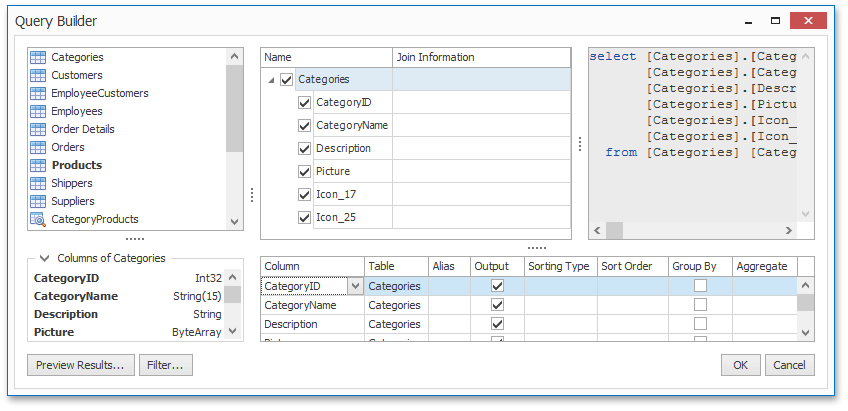
Click OK to close the Query Builder and return to the Data Source Wizard.
-
When the query is ready, click Finish to save it.
-
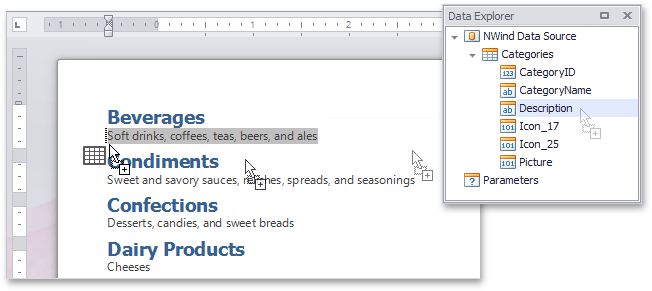
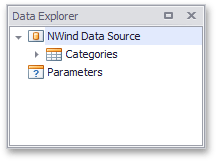
After the data source has been added to the report, the hierarchy of its data members is reflected in the Data Explorer.
The Data Source Wizard is invoked. Proceed with the following steps in the wizard.
The Snap report is now connected to data. Drag-and-drop the CategoryName and Description data fields from the Data Explorer onto the document's body to create a simple data-aware report.