Create and Delete Tabbed Groups
To perform layout customization, first invoke Customization Mode. After customization has been completed, exit customization mode.

 Combine Layout Items into a Tab Control
-
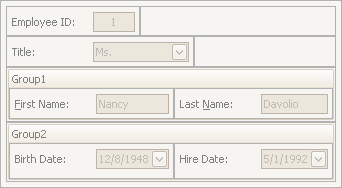
Select a layout item that is to be added to a tab control by clicking it.
You can select multiple items simultaneously by clicking them while holding the SHIFT key down.
-
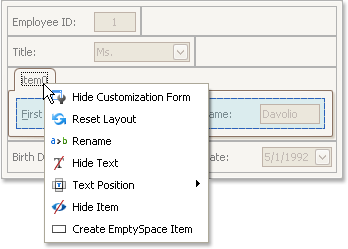
Right-click any of the selected layout items and select Group from the context menu:
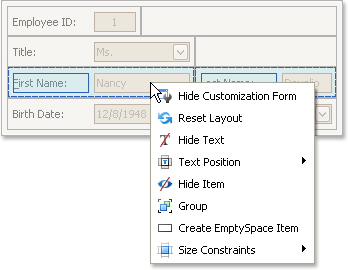
Note that only adjacent selected layout items can be combined into a group, and only if the region occupied by them forms a rectangle. Otherwise, the Group command is not available when right-clicking the selection.
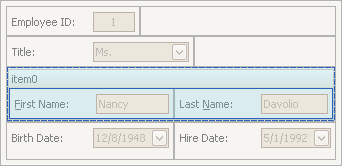
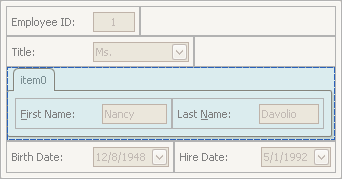
As a result, a new group is created:
-
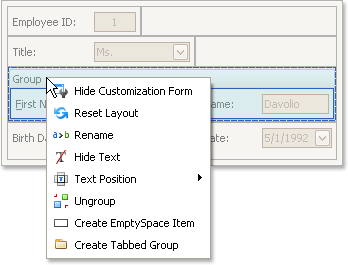
Right-click the group's caption and select Create Tabbed Group.
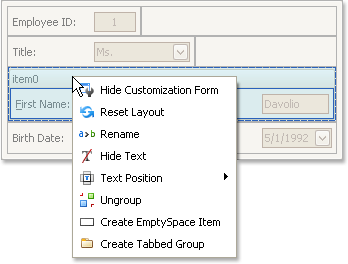
This creates a tab control with one tab displaying the contents of the original group.
You can subsequently rename the created tab and customize the contents of tab pages using drag-and-drop and context menus, if required.
Combine Groups into a Tab Control
To transform a group into a tab control, right-click the group's caption and select Create Tabbed Group.
To add a group as a tab page to an existing tab control, drag the group's caption onto the tab control's header area.
Rename Tab Pages
Do the following:
-
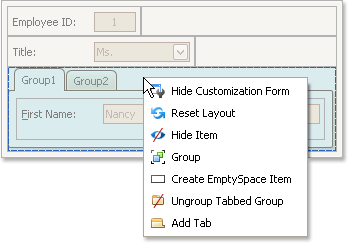
Right-click a tab header and select Rename:
- Type a new name and press ENTER.
Customize Tabbed Groups
To customize the layout of controls and the order of tab pages within a tab control , use drag-and-drop.
Ungroup Tabbed Groups
To disassemble a tab control into regular groups, right-click the tab control's header area and select Ungroup Tabbed Group.
As a result, the tab control will be destroyed and all its tab pages will be displayed as regular groups, one below another.